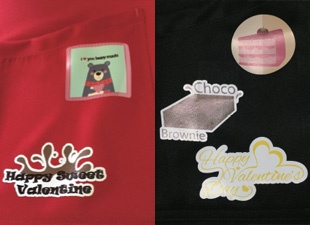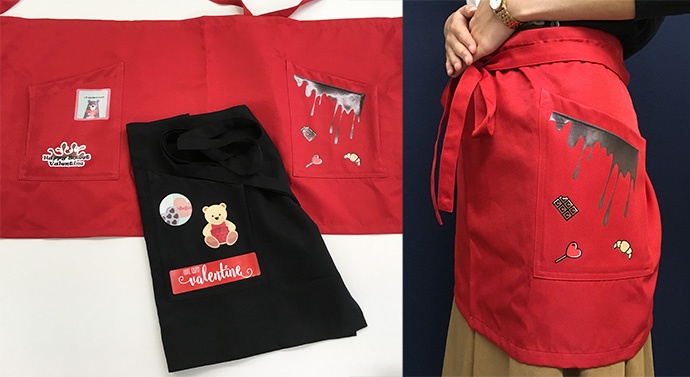
By using rubber transfer application, you can customize your apron.
Rubber sheet requires cutting after printing. The inkjet printer performing both print and cut enables smooth production. After cutting, crimp the fabric and the printed rubber sheet with a flatbed heat press machine! Easy transfer to cloth materials such as aprons and T-shirts.
Since you can customize your favorite design layout freely, you can create only one original apron in the world.
Model: CJV150 Series
Ink set: SS21 [C,M,Y,K,Lc,Or,W,W]
1. Data creation
Using the design creation software Illustrator, with its plug-in cutting software [FineCut], create a Print & Cut EPS-format document.
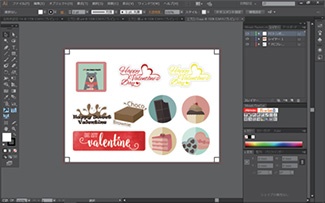
1-1. Create freely an illustration by Illustrator.

1-2. Please open a new artboard of A4 size from [New] of [File]. Choose your favorite design and arrange it on the artboard.
![Please open a new artboard of A4 size from [New] of [File]](https://d3lggp3y59xahy.cloudfront.net/archives/120/201801/0cc144ced139c1f4d5f9e1f074efea99.jpg)
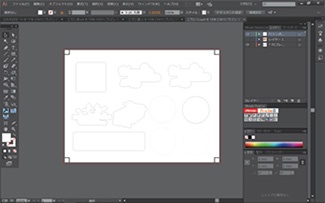
1-3. When the arrangement is fixed, make cutting lines and register marks with [FineCut] and save the data in EPS format.
(Register mark: Mark for cutting line detection)
For details, please see [How to] Window film.

2. Print the data
For the first, please print the data on a rubber sheet using [CJV150 Series] for Print & Cut and RIP software [RasterLink].
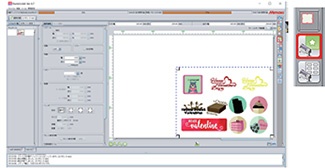
*The image shows the RasterLink6 setting screen.
2-1. Open [RasterLink] of the PC connected to the printer, [CJV150 Series], and input the data to confirm the print condition and print place.
2-2. When they are confirmed, you can start printing the rubber sheet.
Select 'Print after RIP' and click 'Start' to print.
3. Cutting the rubber sheet
Next, cut with [CJV150 Series] and [FineCut].
3-1. When the print is completed, open the data with Illustrator of the PC connected to the printer.
3-2. Hide every layer except the cutting lines and the register marks layers.
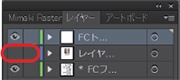
Click on the eye symbol in the layer menu to close the eye to hide a layer.
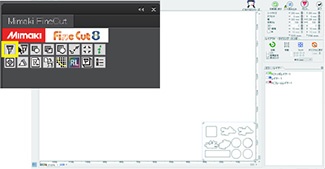
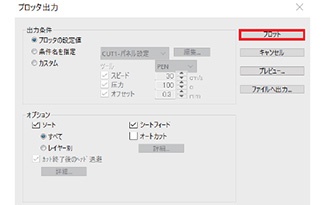
3-3. Select all the cutting lines and the register marks with [Ctrl] and [A] buttons and open the window for setting cutting condition of [FineCut].
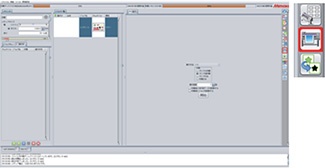
*The image shows the FineCut8 setting screen.
3-4. Detect the register marks printed by the printer with sensor. Then switch to [Remote] mode of the printer.
Set the red pointer inside the corner of the register mark to recognize it.
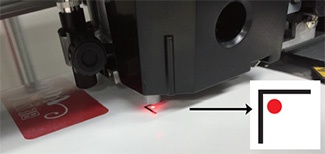
3-5. Back to the PC window and click on the [Register Mark] tab and select [Detect Mark] to detect the register marks.
![Select [Detect Mark]](https://d3lggp3y59xahy.cloudfront.net/archives/120/201801/8af88c4fd5c62879074cfec481533fe6.jpg)
3-6. Click the [Plot] button to start cutting!
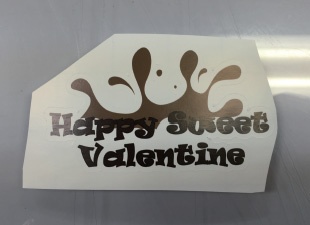
3-7. When cut is finished, the original rubber sheet is created!

4. Transfer
Then transfer the original rubber sheet to the apron.
[Preparation]
- Apron
- Printed rubber sheet
- Application sheet
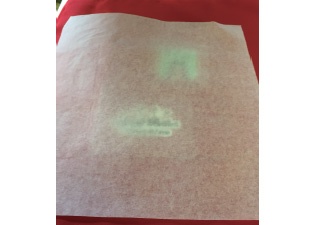
- Parchment paper
- Squeegee
- Scissors
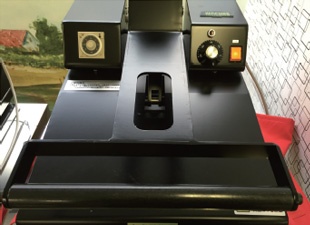
- Heat press machine
[Before starting the operation...]
- Set the temperature of the heat press to 150ºC / 302ºF for pre-heating.
- If wrinkles are found in the apron, iron it to let wrinkles stretch out.
* The rubber sheet may not be adhered well if there is unevenness on the fabric.
4-1. Cut the rubber sheet of favorite design.
4-2. Remove the unnecessary area.
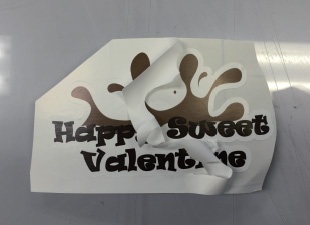
4-3. Prepare the proper sized application sheet for the design to adhere it on the rubber sheet.

4-4. Push out the air between the rubber sheet and the application sheet by a squeegee.
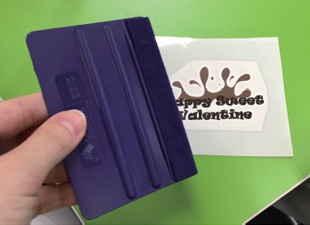
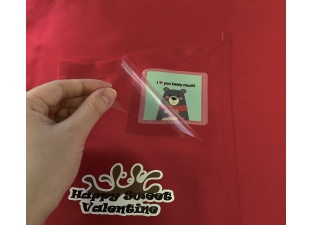
4-5. Peel off the base paper of rubber sheet to adhere the rubber sheet to your favorite place of apron.
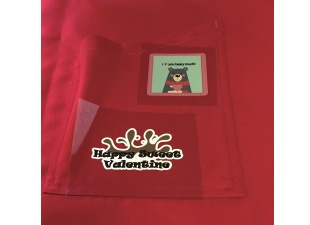
4-6. Place the apron on the heat press machine and cover it with a parchment paper.
4-7. Lower the lever, press for 5 seconds, and raise the lever.
4-8. Peel off the application sheet.
4-9. Press again for 10 seconds covered with the parchment paper.

4-10. After the 10 seconds, raise the lever to remove the parchment paper and finish!