Model: CJV150 Series, CFL-605RT
Ink set: SS21 [C,M,Y,K,Lc,Or,W,W]
1. Data creation
Using the design creation software Illustrator, with its plug-in cutting software [FineCut], create a Print & Cut EPS-format document.
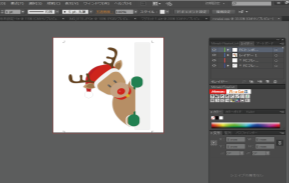
1.1. Create your desired design using Illustrator
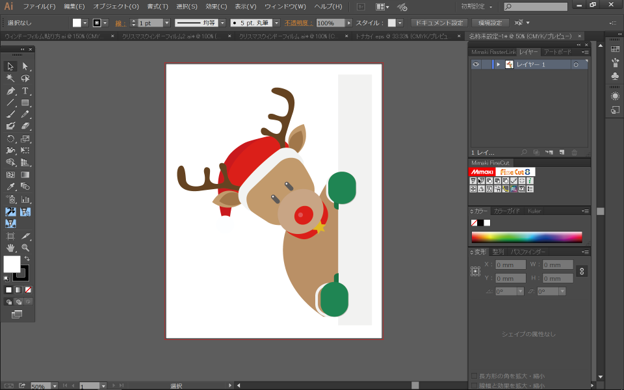
Size and color etc. can be modified at this operation.
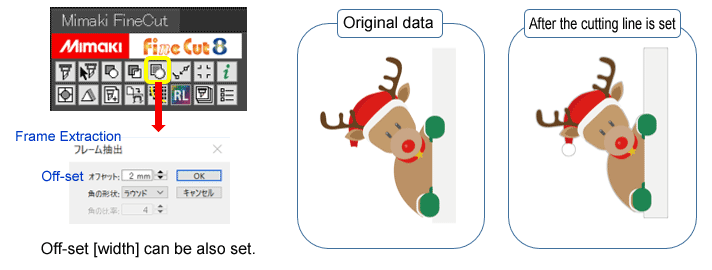
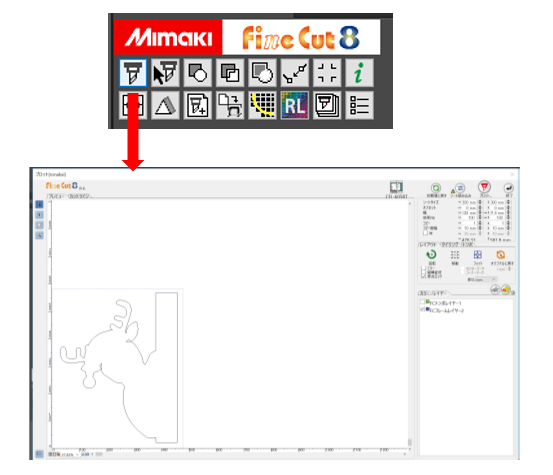
1.2. Once your design is completed, create a cutting line around your design using [FineCut] and its [Frame Extraction] option.
*The image shows the FineCut8 setting screen.
It is also possible to create your own cutting lines without [FineCut] tool (settings: color: black; width: 0.001mm) for files without an anchor point (JPEG, TIFF).
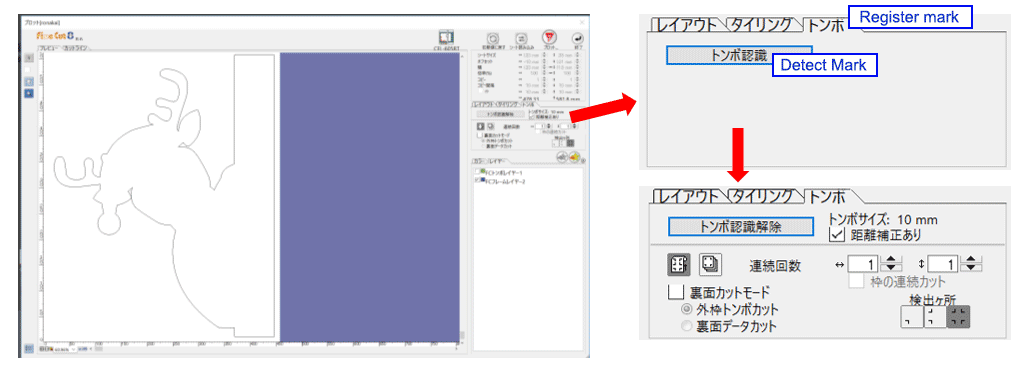
1.3. After setting the cutting lines, set the Register Marks using [FineCut].
What is the Register Mark ?
The Register Mark is for setting the final layout of the printing and necessary to correctly position the printing during the cutting process.
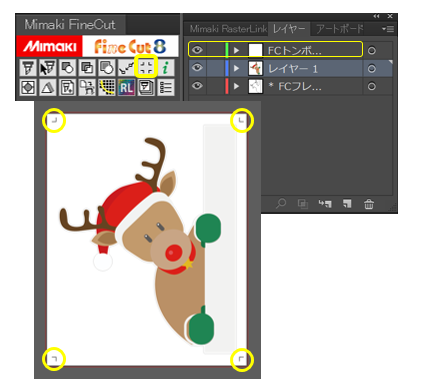
Figure: setting the Register marks with FineCut8
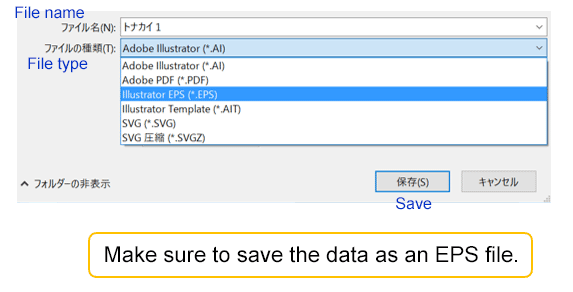
1.4. Save the data as an EPS file
2. Print the data
Using Mimaki RIP Software [Rasterlink], create the necessary printing plates.
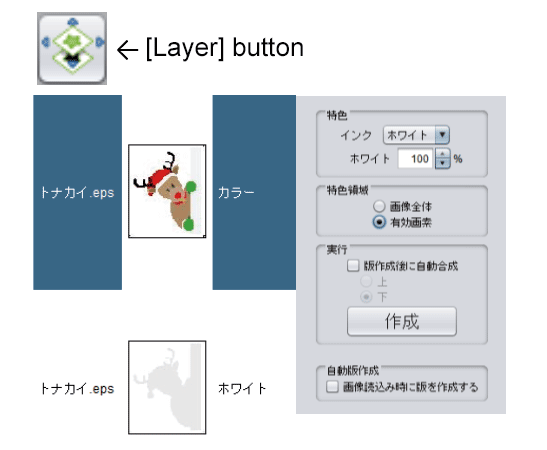
*The image shows the RasterLink6 setting screen.
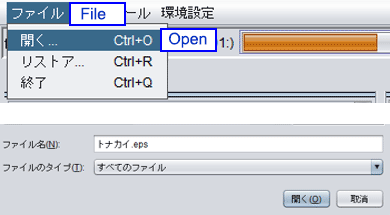
2.1. After starting [RasterLink], open your EPS data by selecting [Open] from the [File] menu.
2.2. Create a special color plate (White layer in this case) for your data using the [Special Plate] function.
[Special Color]
Ink: White
White: 100%
[Create area]
Valid Pixel
->Create
2.3. Duplicate your color plate (Color layer in this case) by selecting [Duplication]

2.4. Then, using the [Composition] function, select the output order :
Color [3]
White [2]
Color [1]
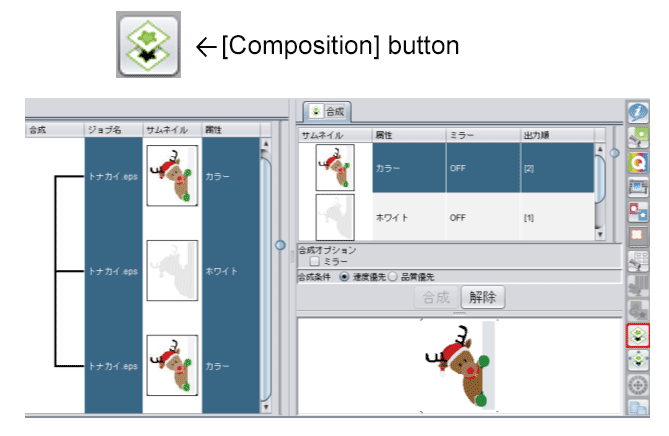
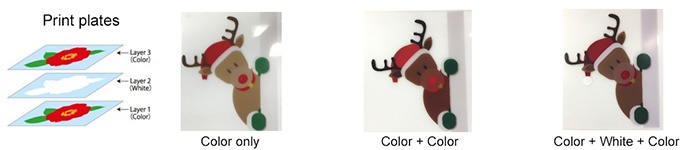
Having a white layer between the two colors plate give more vivid colors and a nicer appearance in front of the window but also from behind. Without the white layer, the colors appear lighter.
Set the printing conditions before printing
2.5. Set the printing condition and the position on the [General Print] screen
There is no special settings required.
*Note: the printing time gets longer when increasing the printing resolution and/or the number of passes.
![RasterLink6: Edit the data ([General Print] button)](https://d3lggp3y59xahy.cloudfront.net/archives/120/201706/1e944da1347d82926dfb7728ffc09b5f.png)
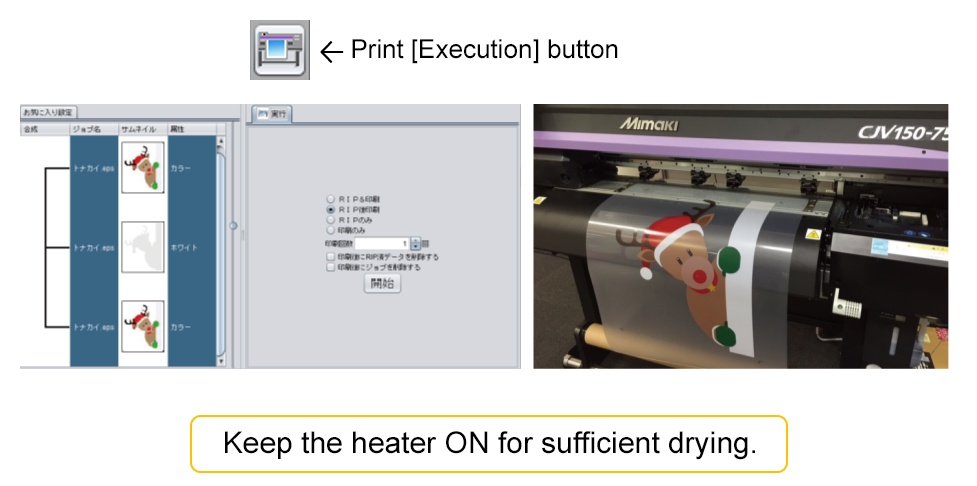
2.6. Print
During printing, keep the heater ON for sufficient drying.
When the printing process is completed, the printed film needs to be left to dry completely. If it is touched before drying, the print might be spoiled.
*Laminating after printing is recommended for outdoor applications.
3. Cutting the data
Cut the data using a [CFL-605RT] flatbed cutting plotter.
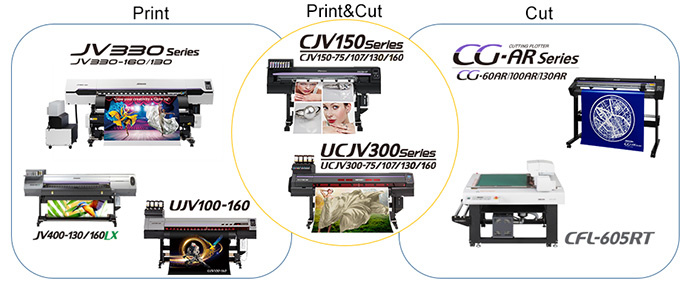
[CG-FXII Plus Series], [CG-AR Series], [CJV150 Series], [CJV330 Series], [UCJV300 Series] can also be used for this operation.
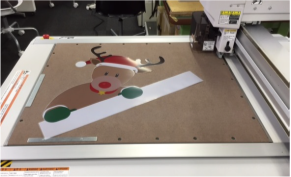
Set the printed film on the [CFL-605RT] cutting plotter
3.1. Set the film on the table of the cutting plotter
Use the vacuum function to keep the film pressed well against the table.
![Set the media to [CFL-605RT].](https://d3lggp3y59xahy.cloudfront.net/archives/120/201706/d2bcacea8e80932d252020e86ae10bfd.png)
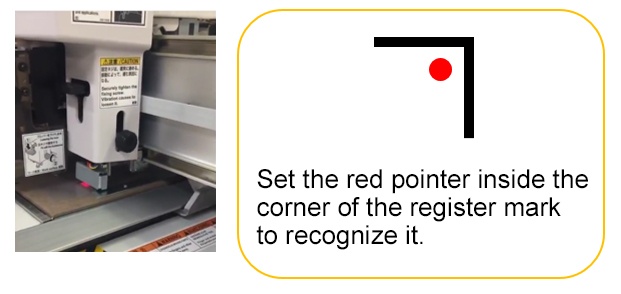
3.2. Use the sensor to set the position of the left-below printed register mark
Adjust the light pointer inside the corner of the register mark.
3.3. When the register mark is detected, select the [Remote] mode
![Select the [Remote] mode](https://d3lggp3y59xahy.cloudfront.net/archives/120/201706/e5052081c5399a82c8f7f3b6be146cad.png)
When the data is ready, start cutting !
3.4. Connect the cutting plotter to the PC by USB and open your data in Illustrator.
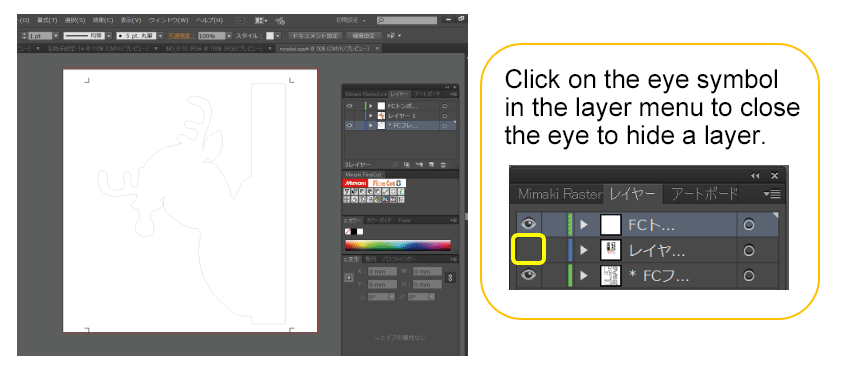
3.5. Hide every layer except the cutting lines and the register marks layers
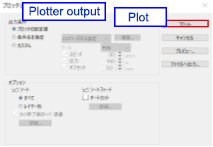
3.6. After selecting all cutting lines and registered marks, click on the [Plot] button to open [FineCut] cutting menu
Be sure to set the data like they are positioned on the cutting table.
3.7. Click on the [Register Mark] tab and select [Detect Mark] to detect the register marks
3.8. Click the [Plot] button to start cutting !
3.9. The window film is ready to be used !
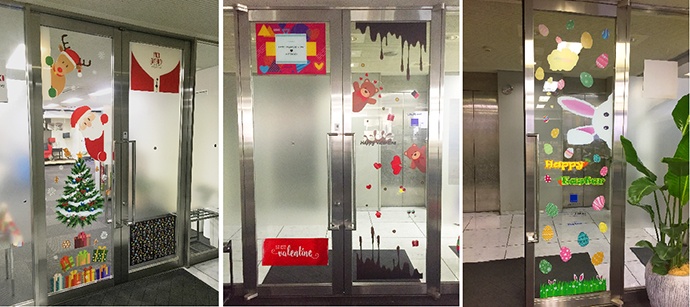
4. Apply the film to the desired window or glass
Let's apply our original film on a window !
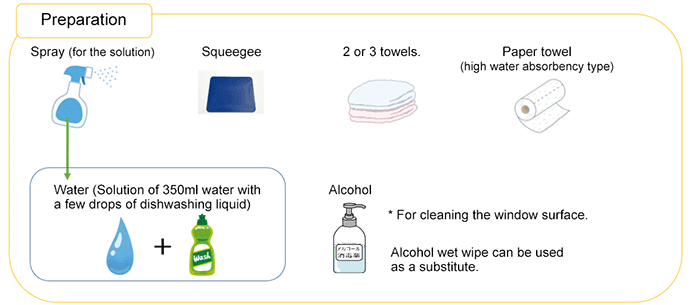
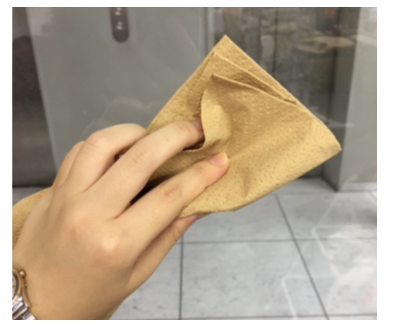
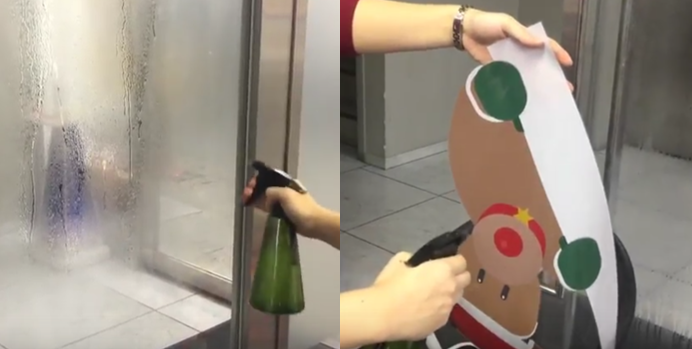
4.1. Clean the window with alcohol and spritz the glass with the spraying solution
Fingerprints or oily traces remaining on the glass might prevent a good film application.
Cover the floor with towels to protect it from the water.
4.2. Remove the protection layer on the window film and spritz thoroughly the surface of the film, as well as the surface of the window
4.3. Carefully apply the film
The film position can be modified as long as both the film and the window are still wet.

4.4. Remove the surplus water and the air bubbles between the film and the surface of the glass using the squeegee
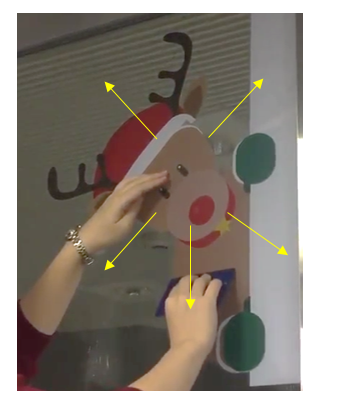
Remove the water and air from the center to the sides of the film.
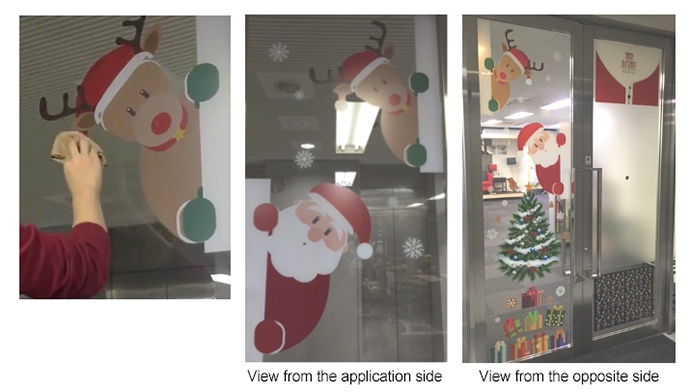
4.5. Wipe out the water to finish !
The window film offers a nice appearance from both sides of the window thanks to the white layer.
Applicable model